
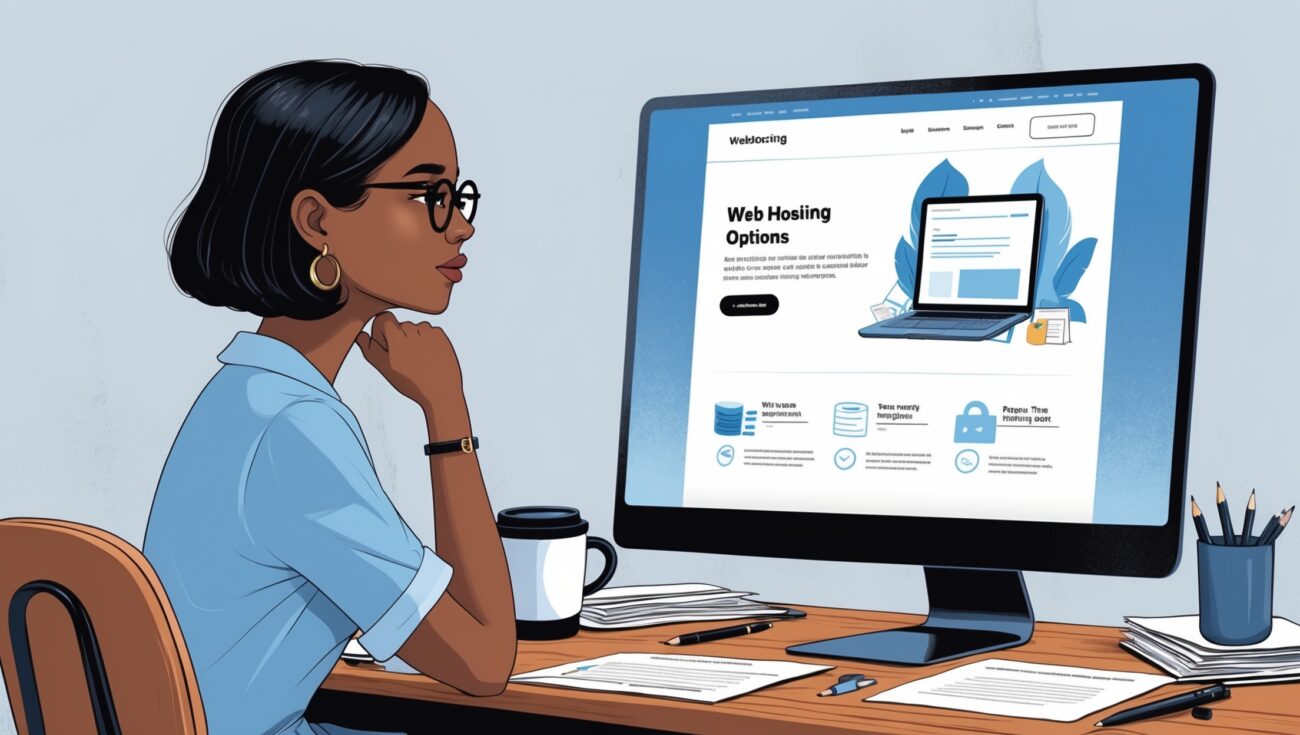
How to Choose Web Hosting for Your First Site
Choosing the right web hosting for your first site is crucial. Learn how I picked a fast, secure, and reliable hosting plan that helped my website succeed—without overspending.

Table of Contents
Why Choosing the Right Host Matters
When I built my first website, I was overwhelmed by all the hosting options. Shared, VPS, cloud, dedicated—what did it all mean? I made a few mistakes along the way, like picking a cheap host with slow servers, and I quickly realized that hosting impacts everything:
- Site speed
- Security
- Uptime
- SEO rankings
- User experience
Choosing the wrong host can make your website slow, unreliable, and stressful to manage. But choosing the right host can make your first website journey smooth and enjoyable.
In this guide, I’ll walk you through how I chose my first web host, what features really matter, and how you can pick a plan that fits your needs and budget.
If you want a reliable host I personally use, check out SiteGround.
Step 1: Understand the Different Hosting Types
Before choosing, I needed to understand my options:
- Shared Hosting: Affordable and beginner-friendly. Multiple websites share the same server. Great for small blogs or personal sites.
- VPS Hosting: Virtual private server. More resources and control. Good if your site is growing.
- Cloud Hosting: Scalable and reliable. Ideal for sites expecting traffic spikes.
- Dedicated Hosting: Full server for one site. High cost, high control—only for advanced users.
For my first site, shared hosting was perfect. Affordable and easy to manage, it included all the essentials without overwhelming me.
I ended up choosing SiteGround StartUp Plan because it balanced price, performance, and support.
Step 2: Look for Speed and Performance
Fast websites rank higher on Google and keep visitors engaged. When I first picked a host, I ignored speed and regretted it.
I learned to look for:
- SSD storage for faster data access
- Server caching to improve load times
- CDN integration to serve content globally
- Modern PHP and HTTP/2 support
SiteGround provided all of these features out of the box, which instantly improved my site speed.
See SiteGround hosting options here
Step 3: Check Security Features
Security is essential, especially for a new website. Hackers target weak points like outdated software or unsecured servers.
I made sure my host offered:
- Free SSL certificate
- Daily backups
- Web application firewall
- Malware scanning
SiteGround includes all of this, so I didn’t have to worry about expensive add-ons or complex setup.
Step 4: Evaluate Customer Support
When you’re new, having reliable support is priceless. I had a plugin conflict early on, and my host resolved it quickly.
I look for hosts that offer:
- 24/7 live chat
- Phone and ticket support
- Knowledge base and tutorials
SiteGround’s support is fast, knowledgeable, and beginner-friendly. That gave me confidence from day one.
Start hosting with SiteGround here
Step 5: Consider Scalability
Even as a beginner, I thought about the future. Your first site might grow quickly. Can your host handle traffic spikes?
I needed a host that allows:
- Easy upgrades (shared → cloud → VPS)
- Extra resources without downtime
- More storage or databases when needed
SiteGround allowed me to scale seamlessly, which prevented headaches as my traffic increased.
Step 6: Ease of Use
I wanted a host that didn’t require a technical degree. Features I valued:
- 1-click WordPress installation
- User-friendly control panel
- Automatic updates
- Staging environment for testing
SiteGround made everything simple, so I could focus on content instead of server management.
Step 7: Pricing and Value
I was careful not to overspend. For a first website, value matters more than rock-bottom price. I compared:
- Introductory price vs. renewal price
- Features included (SSL, CDN, backups, email)
- Resources offered (storage, bandwidth, CPU)
SiteGround’s transparent pricing and included features gave me peace of mind.
Check SiteGround pricing here
Step 8: Backup and Restore Options
I learned the hard way: things can break. I needed a host with easy backup and restore options.
SiteGround provides:
- Daily automated backups
- One-click restore
- Manual backup options
This way, I can recover quickly from mistakes or technical issues without stress.
Step 9: Global Reach
Even for a small blog, having visitors around the world is possible. I looked for:
- Data centers in multiple locations
- Free CDN for faster global loading
SiteGround’s CDN integration ensures my content loads quickly, no matter where visitors are located.
Step 10: Evaluate Reviews and Reputation
Before committing, I read reviews from:
- Real users on forums
- Bloggers and creators I trust
- Social media feedback
SiteGround consistently receives high marks for speed, reliability, and support. That gave me confidence that my first site would be in good hands.
Step 11: Avoid Common Hosting Mistakes
- Choosing based on price alone
- Ignoring speed and uptime metrics
- Picking a host with poor support
- Not considering future growth
- Skipping security and backups
By avoiding these mistakes, I set up my first website on a solid foundation.
FAQ
Q: Can I start with shared hosting?
Absolutely. Shared hosting is perfect for beginners and small websites.
Q: Will I need technical skills to use SiteGround?
No. SiteGround is beginner-friendly with 1-click WordPress installs, staging, and easy-to-use dashboards.
Q: Can I switch plans as my site grows?
Yes. You can upgrade to cloud or VPS hosting without downtime.
Conclusion
Choosing the right web host for your first site is crucial. It affects speed, security, reliability, and your overall website experience.
For my first site, SiteGround provided everything I needed:
- Fast servers
- Secure hosting
- Easy setup
- 24/7 support
- Scalability
If you’re ready to start your first website on a reliable and beginner-friendly host, I highly recommend:
Start your website with SiteGround today
5 thoughts on “How to Choose Web Hosting for Your First Site”